Table of Contents
-
#1: Don’t Overthink It. Use Proven Retail Systems
-
#2: Put Your Most-Used Items at Ground Level
-
#3: Create Empty Space (Yes, Really)
-
#4: Build Physical Barriers Between Workflow Zones
-
#5: Use Location Codes (And Add Them to Goodshuffle Pro)
-
#6: Go Digital with Tablets for Real-Time Tracking
-
#7: Create an Overage System to Resolve Conflicts
-
#8: Package Everything Down to the Screws
-
#9: Stay in Your Lane
-
The Bottom Line
Warehouse organization isn’t just about keeping things tidy. It’s about saving hours every single day, preventing costly mistakes, and making your team’s job actually doable when you’re running 10+ events simultaneously.
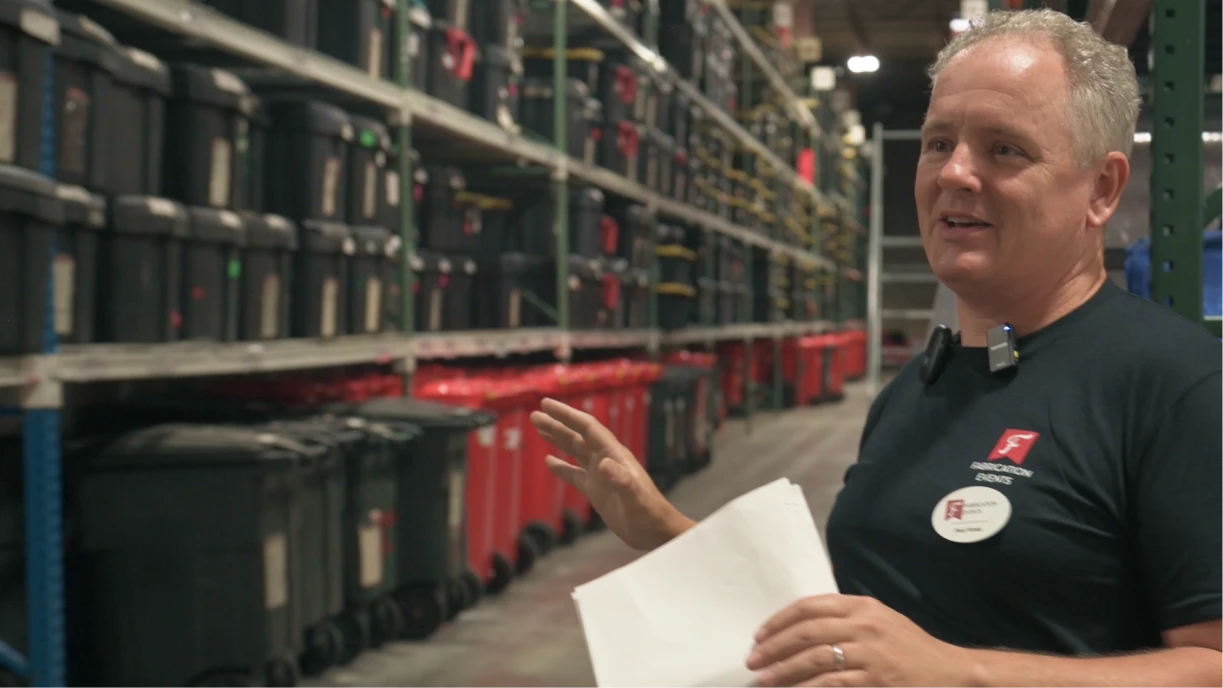
Paul Hines knows this better than most. After 33 years in the event industry and 25 years running Fabrication Events, his team now manages 1,100+ projects a year with 54 employees handling over 60,000 inventory items.
And he’s learned something crucial along the way: don’t reinvent the wheel. The best organizational systems already exist — you just need to adapt them to your inventory.
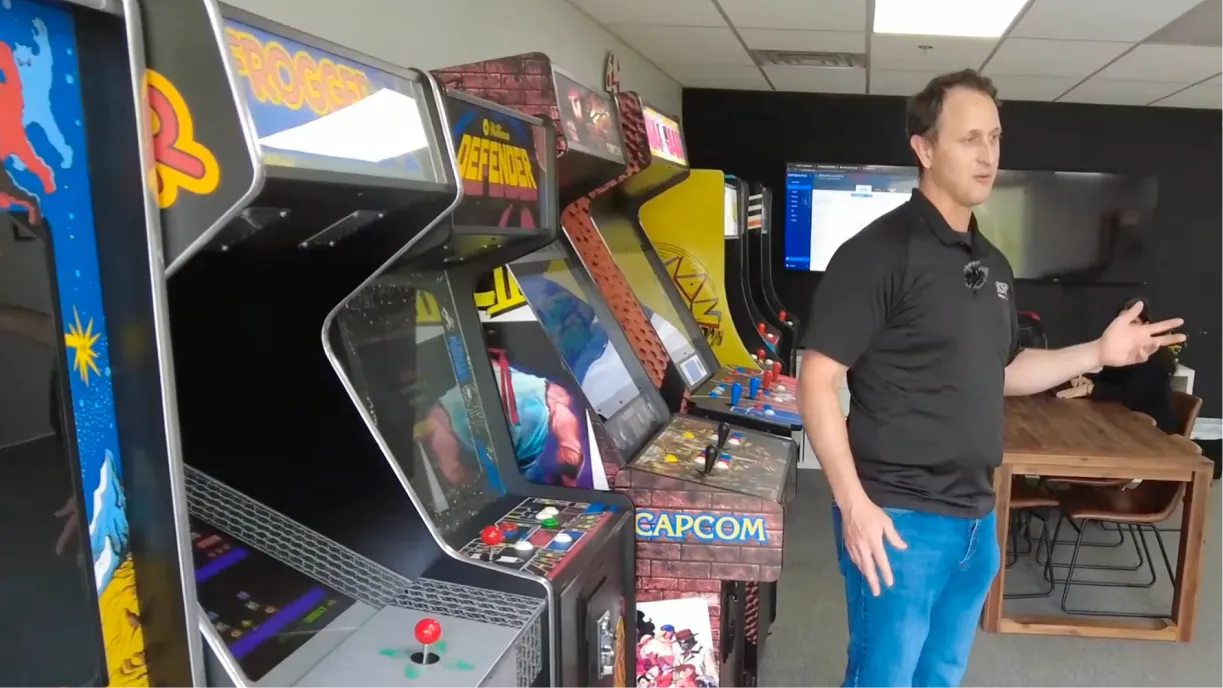
In the video below, Paul walks through his entire warehouse operation, from receiving to staging to storage.
Key Takeaways:
-
Retail stores have already solved warehouse organization for you.
Costco and Home Depot have spent billions on research — copy their layouts with clear aisle labels and logical groupings instead of trying to invent your own system.
-
Ground-level placement saves hours every week.
Pull your usage reports to identify your top 20% most-rented items, then keep them at ground level near staging areas to eliminate forklift time and speed up pulls.
-
Empty space is efficiency space, not wasted space.
Dedicated staging areas transform truck loading from 2-hour scrambles into 20-minute processes by having everything ready before the truck arrives.
-
Physical barriers between zones prevent chaos.
Divide your warehouse into three distinct sections (returns/inspection, maintenance/prep, clean storage) so dirty returns never mix with clean inventory.
-
Location codes eliminate the "where did we put that?" problem.
Label every shelf (like F9-5) and add these codes to your inventory software so pull sheets print exact locations and anyone can find items independently.
-
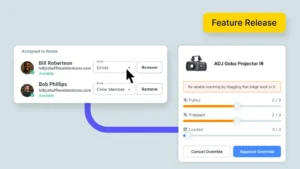
Real-time digital tracking prevents costly mistakes.
Tablets give your entire team instant visibility into what’s pulled and loaded, with red flags for conflicts.
-
An overage system resolves mystery inventory issues.
When crews return with extra items, a simple form lets your inventory manager match them with missing item reports from other jobs to track where equipment actually went.
-
Complete packages (down to the screws) eliminate guesswork.
Anyone should be able to pull any job without asking questions — and revise packages immediately when crews say “we should have had that.”
#1: Don’t Overthink It. Use Proven Retail Systems
Paul’s first piece of advice? Go to Costco. Go to Home Depot. Pay attention.
“These companies have paid billions of dollars and put millions of hours of research into planning their layouts,” Paul explains. “People just naturally know where to go to find stuff.”
Here’s what that means for your warehouse:
- Keep similar items together (all drape in one section, all staging in another)
- Use clear end cap labels with aisle numbers — it’s the first place people look
- Organize by logic (by color, by size, by fabric type)
- Make it intuitive so new team members can find things without asking
Function is the goal here. If someone walks into your warehouse and it feels familiar, you’ve won.
#2: Put Your Most-Used Items at Ground Level
This seems obvious, but most warehouses get it wrong.
Paul’s team did a deep dive into Fabrication Events’ usage data and reorganized everything based on frequency. “We tried to find what we use all the time and make it on the ground level, in the first half, where you don’t need a lift to get it.”
Here’s how to do it:
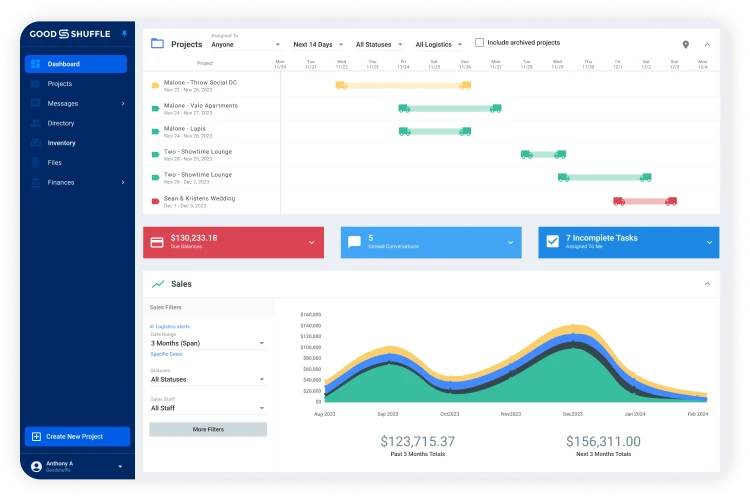
- Pull your usage reports from Goodshuffle Pro
- Identify your top 20% most-rented items
- Place them at ground level, near your staging area
- Put specialty or rarely-used items up high
The result will be less time with the forklift, faster pulls, and fewer bottlenecks during busy seasons.
#3: Create Empty Space (Yes, Really)
“You don’t realize how much empty space you need in a warehouse when you’re planning a warehouse,” Paul says.
His warehouse has dedicated staging areas on both sides of the facility. Because staging jobs before trucks arrive is the difference between a 20-minute load and a 2-hour nightmare.
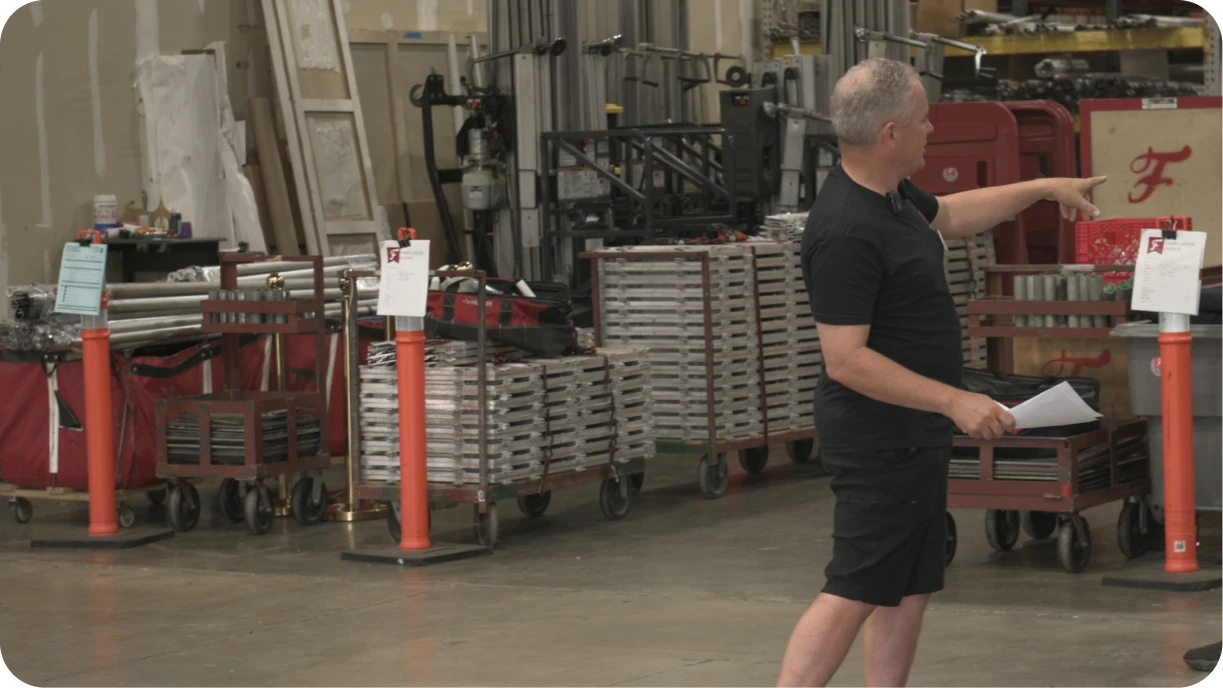
The staging strategy:
- Blue sheets for client pickups
- White sheets for deliveries going out
- Traffic cones with binder clips holding each job’s packet
- Everything pulled and organized behind its cone, ready to load
“If everything’s ready and your truck comes back from another job, you can load it up in 20 minutes,” Paul explains. “If you’re waiting to pull everything after the truck comes back, that same job can take you two hours.”
#4: Build Physical Barriers Between Workflow Zones
Paul’s warehouse is divided into three distinct sections, and nothing crosses between zones until it’s ready:
- Zone 1: Returns & Inspection: Everything coming back from events goes here first. It gets counted, inspected, cleaned, and flagged for repairs.
- Zone 2: Maintenance & Prep: Carpet cleaning, dance floor inspection, woodshop repairs, steaming drape. Nothing leaves this zone until it’s event-ready.
- Zone 3: Clean Inventory Storage: Only items that are inspected, cleaned, and ready to go live here. This is what your team pulls from.
“Creating that physical barrier helps keep order,” Paul says. It prevents clean inventory from getting mixed with dirty returns, reduces mistakes, and makes it crystal clear where items are in your process.
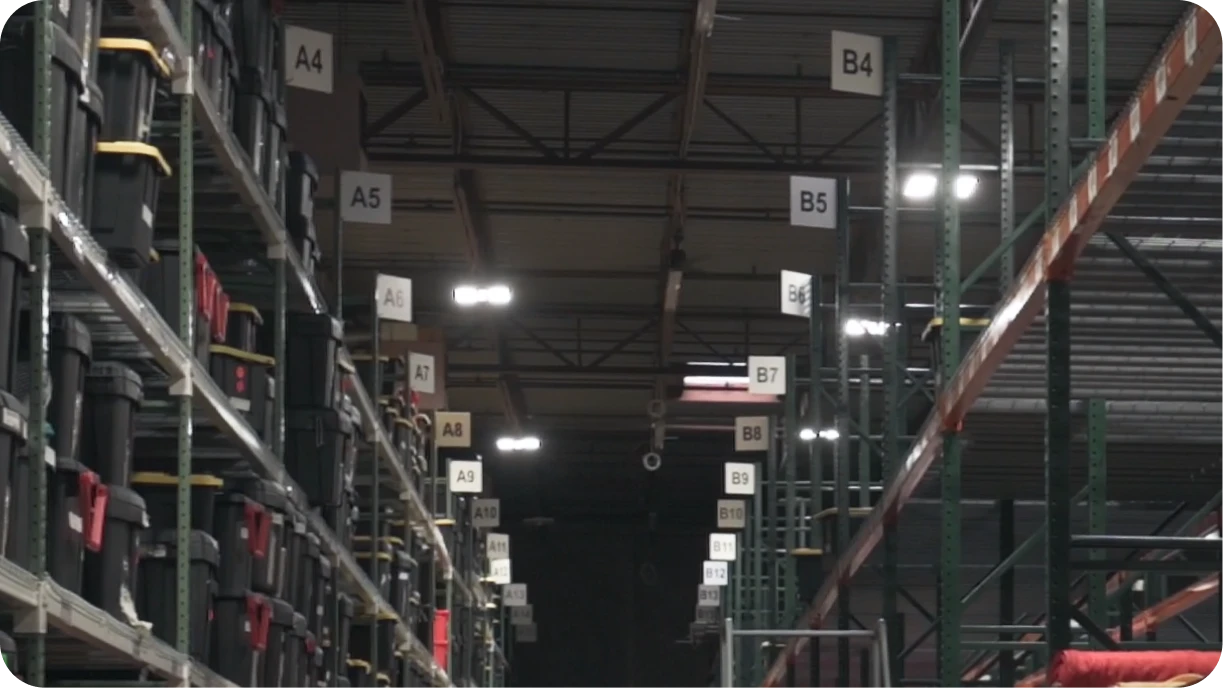
#5: Use Location Codes (And Add Them to Goodshuffle Pro)
Every aisle and shelf in Paul’s warehouse has a label — like F9-5 (aisle F9, shelf 5). They add these location codes directly into Goodshuffle Pro’s location field for each item.
Why this matters:
- Pull sheets print with exact locations
- Salespeople can find items to show clients
- New warehouse staff can locate items independently
- No more “where did we put that?” time waste
“When you print the pull sheet, it has ‘this item is at F9-5,’ so you know exactly what shelf it is,” Paul explains. “It helps the installers find it. If the salespeople want to go take a look at it, they know exactly where to go.”
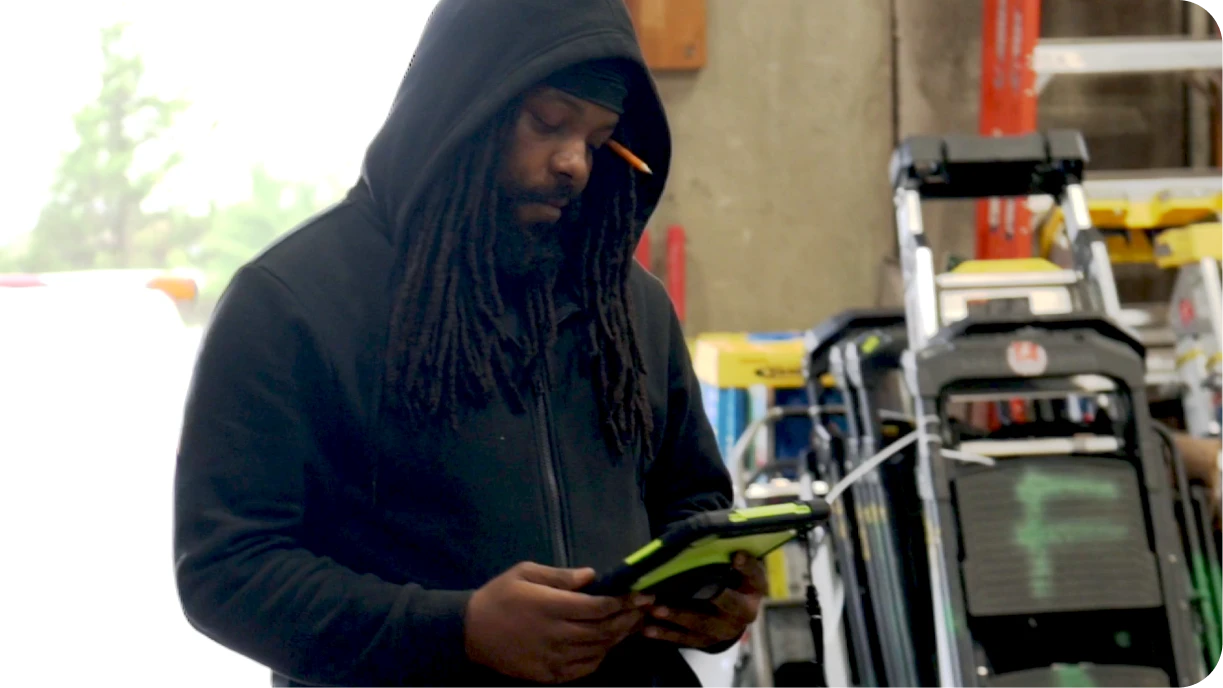
#6: Go Digital with Tablets for Real-Time Tracking
Paper pull sheets work — until you’re managing 10 jobs at once and something goes missing.
Paul’s team recently transitioned to using Samsung tablets for pulling and loading. Team members check items twice: once when pulled and staged, once when loaded on the truck. Now, everyone can see the status in real-time.
“Anybody in the company — installers, salespeople — can see in real time: Is it pulled? Is it loaded? You know exactly where in the process it is,” Paul says.
Red flags pop up immediately if there are conflicts, giving you time to actually fix problems.
Especially when you’re running 10-14 events in a single day, this real-time visibility becomes critical. What happens on one event can affect multiple others — whether it’s a vehicle going from one job to the next or staff moving between projects.
#7: Create an Overage System to Resolve Conflicts
With 15 events out simultaneously, things get moved between jobs. Paul’s solution is an overage form.
When crews check items back in and find extra equipment that wasn’t on their original pull sheet, they fill out a simple form noting what came back. This goes to their inventory manager, who cross-references it with missing item reports from other jobs.
“Maybe those ten panels of drape got pulled off this job in an emergency and sent to another job, or somehow got mixed up in the trucks,” Paul explains. “We can go resolve any conflicts and say, ‘This extra stuff came back on this job — it actually came from this other one.'”
It’s a simple system that prevents inventory discrepancies from spiraling.
#8: Package Everything Down to the Screws
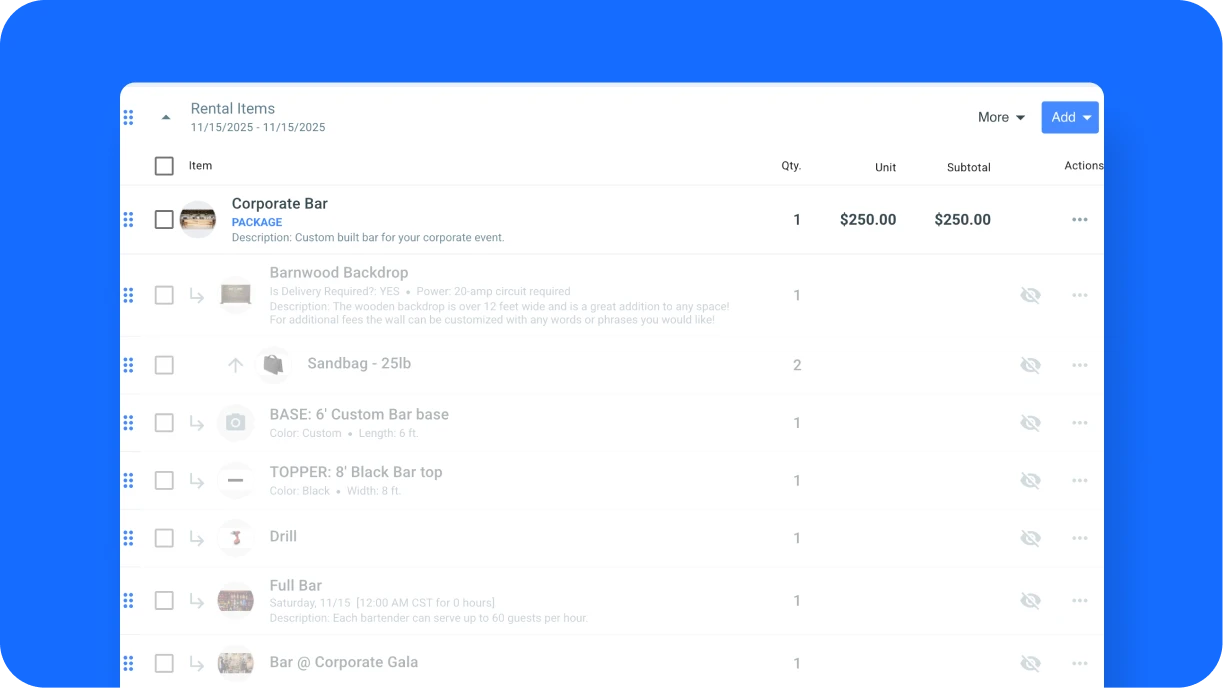
Paul’s bars are modular: frame + front + top = “build a bar.” In Goodshuffle Pro, these are set up as packages.
But here’s the key: the package includes everything — including the screws and the drill.
“I don’t like having to go to somebody to find out what goes out,” Paul says. “Anybody should be able to create a package that has every single item for every single thing.”
Every time a crew member says “I wish we had this” or “we should have had that,” they also immediately revise the package. So the system is always getting better.
#9: Stay in Your Lane
Paul’s warehouse has some decor, some cafe lights, some hedge walls. But it’s minimal.
“We like to stay in our lane,” he says. “AV companies, lighting companies, design companies hire us a lot. So we just do the minimum that we need to make it work.”
The philosophy? Do what you do great, not what you do okay.
“If you do what you do great, you will not have a problem — people will always find you,” Paul explains. “A lot of companies starting up overextend themselves trying to do everything. Then you have a lot of people that do stuff okay, but don’t do everything great.”
It’s a reminder that warehouse organization isn’t just about physical space. It’s about business focus, too.
The Bottom Line
Organizing your event rental warehouse isn’t about fancy systems or expensive equipment. It’s about:
✓ Using proven retail layouts people already understand
✓ Placing high-use items at ground level
✓ Creating staging space for faster truck loads
✓ Building workflow zones with physical barriers
✓ Adding location codes to your inventory software
✓ Going digital for real-time visibility
✓ Packaging everything so anyone can pull a job
✓ Staying focused on what you do best
Want to see how Goodshuffle Pro can help you implement these systems with location tracking, digital pull sheets, and real-time inventory visibility?
FAQs
Start by modeling your layout after proven retail systems like Costco or Home Depot. Keep similar items together, use clear aisle labels, and organize by frequency of use. Place your most-rented items at ground level and create dedicated staging areas for faster loading.
Not leaving enough empty space for staging. Without dedicated staging areas, what should be a 20-minute truck load becomes a 2-hour process because you’re pulling items after the truck arrives instead of having everything ready to go.
Implement an overage system where crews report extra items that came back from events. Your inventory manager can then cross-reference these with missing item reports from other jobs to track down where equipment actually went.
Digital tracking with tablets provides real-time visibility for your entire team. When you’re running 10+ events simultaneously, immediate updates on what’s pulled and loaded prevents costly errors and gives you time to fix conflicts before they become problems.

Share On