Table of Contents
-
What to Post: How to Create Quality Social Media Content
-
Where to Post: Which Social Media Platform is Best?
-
When to Post: How to Build Social Media Schedules
-
1. Highlight Event Rental Collections
-
2. Feature Event Before & After Content
-
3. Share Customer Testimonials
-
4. Showcase How You Can Use One Rental in Many Events
-
5. Use Instagram Stories
-
How to Track Social Media Performance
-
Start Promoting Your Event Business
Posting on your event rental company’s social media can be easy to do, but difficult to master. How do you insert yourself into the conversation when someone searches for “party rental near me?” How do you use platforms like Instagram as a tool to grow your party rental business?
If you’re looking to get the most value from your event business’s social media presence, here are key considerations to create quality social media content, promote your event business, and track performance.
Key Takeaways:
-
Quality images determine credibility.
High-quality, curated images representing your brand are essential for building client trust.
-
Video content drives engagement.
66% of users find short-form videos most engaging, making Reels and TikToks essential.
-
Platform-specific strategies work best.
Each platform serves different audiences, with Instagram primarily targeting ages 18-24 and Facebook reaching 25+ demographics.
-
Consistent posting builds momentum.
Post 1-2 times per week on Tuesday-Thursday at 10am for optimal engagement rather than sporadic content.
-
Behind-the-scenes content humanizes your brand.
Show your team, setup processes, and before/after transformations to build connections.
-
User-generated content amplifies reach.
Encourage customers to share photos and tag your business for authentic social proof.
-
Engagement tactics increase interaction.
Use polls, stories, and branded hashtags to boost audience participation and visibility.
What to Post: How to Create Quality Social Media Content
Social media can be the perfect place to showcase your work, but how do you create content that actually drives engagement?
The first step for drawing clients’ attention on social media is selecting high quality, curated images and videos that represent your brand, mission, and inventory. Yes, high quality images require time and effort. But inconsistent styles, blurry images, or poorly sized photos can deter clients from your brand and business. It’s just not worth the risk.
Don’t worry, it’s not as overwhelming as it may seem. Start creating or refining your content using the resources below:
How to source photos
When promoting your event business, you’ll ideally want custom images you’ve taken, or photos your customers took of your items, events, and team. If you’re new to photography, we recommend checking out these guides from Time, HubSpot, and The School of Photography to learn some basics. You’ll be taking high quality photos of your inventory and events in no time!
But of course there are times when you need a great photo and don’t have time to take it yourself. Hiring a photographer is an excellent move if you’re looking for consistent images across your social media and website. If you’re considering catering to corporate clients, investing in an inventory photoshoot for any promotional content will highlight the quality of your offerings, not to mention convey the professionalism of your brand.
You can also source professional quality photography through stock images. These are photos taken by photographers for general use, so you may have to do some digging to find the right image to match your brand. Luckily, there are a lot of beautiful options out there that will add the perfect punch to your content. Here are a few sites that we like to use:
The most important thing to remember about stock photos is to check the copyright guidelines for the image you want to use; while many stock photos are free use, others require attribution or are not allowed for commercial use.
How to resize images
Social media has specific size guidelines for content, so images that are not appropriately sized to each platform can result in skewed, cropped, and/or blurry photos. You can post images outside of these guidelines, but your results will vary, so when in doubt, resize before posting.
Here are the current sizing guidelines for Facebook and Instagram. You can find guidelines for other platforms with a quick Google search.
| Square | 1200px x 1200px |
| Portrait | 630px x 1200px |
| Landscape | 1200px x 630px |
| Stories | 1080px x 1920px |
| Standard Square | 1080px x 1080px |
| Portrait | 1080px x 1350px |
| Landscape | 1080px x 608px |
| Story | 1080px x 1920px |
| Reels | 1080px x 1920px |
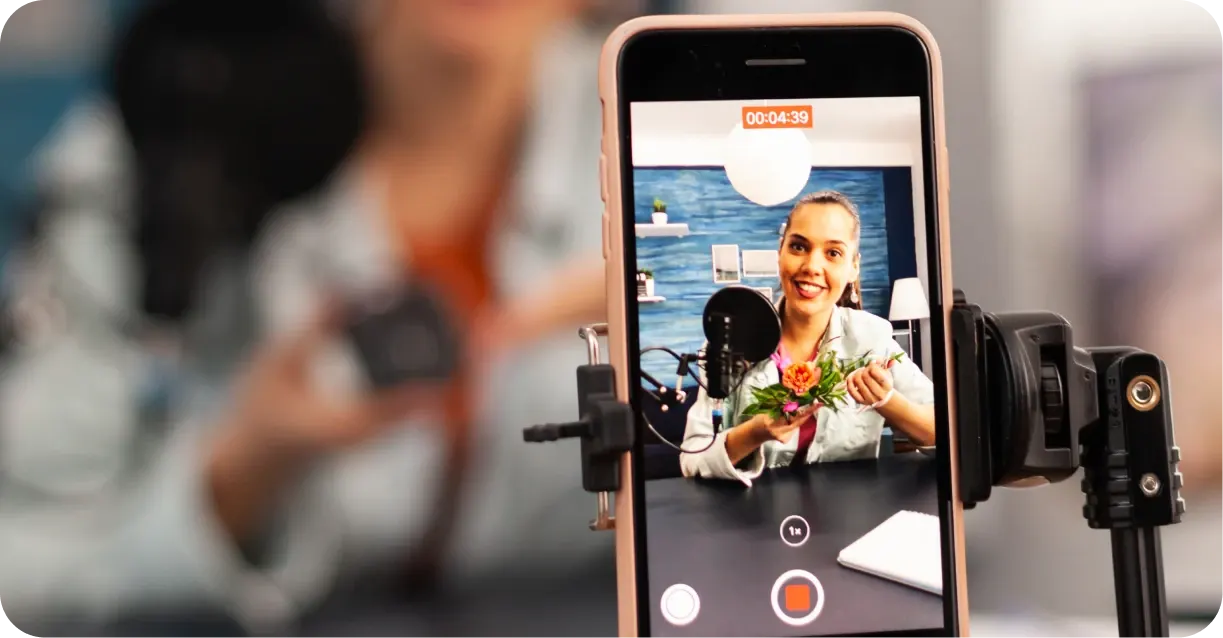
How to create videos
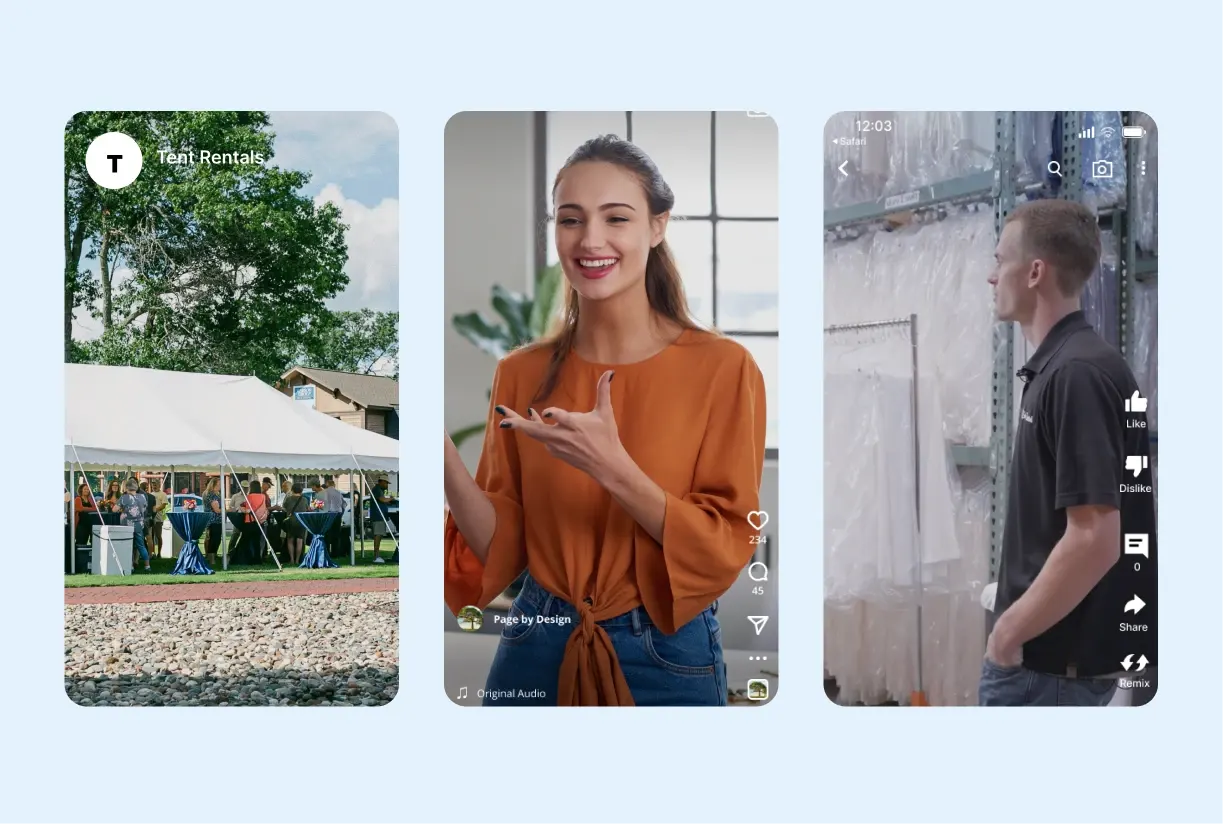
66% of social media users worldwide consider short-form videos as the most engaging form of social media content. They’re highly shareable and easily entertaining, so sharing video footage of your events is a fantastic way to create content that goes a long way.
When creating videos, it’s best to decide on a style, create a plan for when and where to take videos, and keep your shots consistent. Reels and TikToks should all be shot as vertical videos to fit their platforms, and don’t forget to check the audio quality on your video clips.
Short-form videos are also a great opportunity to showcase your team, and you can take advantage of video editing platforms such as CapCut, VEED, and Adobe Express to make clipping together footage easy. There are even some cheap AI-powered video editing tools like Descript to make things easier on you.
Check out our full guide to free and low cost marketing tools.
Where to Post: Which Social Media Platform is Best?
So you have your content, but where should you put it? Whether you’re just starting to build your social media presence or looking to ramp up your social media strategy, posting on every platform isn’t always the answer — especially if you don’t want to be glued to your computer. After all, social media can quickly become a full time job, and you’ve got a business to run!
Consider these platform overviews to decide where your audience is and which platforms are worth investing your time in.
Instagram caters to a slightly younger crowd, with most users between 18 and 24, so there are more great prospects for weddings than retirement parties. You are most likely to find entertaining and aspirational content on the platform. You can post photos, stories, and make use of hashtags, which allow you to reach a greater audience.
You can also post short-form IG Reels, like this one from The Simple Luxe Events that shows how they created a birthday party backdrop with their “Set Up With Us” Reels.
Facebook is the biggest social media platform, with most users between 25 and 34, and plenty of opportunities to target different communities. You can post photos, videos, stories, and links to your website, and joining Facebook groups can be a great way to network in the event industry or find corporate event seekers. Facebook ads are also a great form of paid social media content, and you can reach lots of new leads who are outside your current network or following.
LinkedIn has a more limited user base and is primarily used for professional networking and B2B (business-to-business) marketing. It can be a valuable platform for connecting with other companies in the event industry or seeking out talent, but it’s not the most effective channel for reaching consumers.
Want access to 17 free job description templates for event companies? Job Description Templates

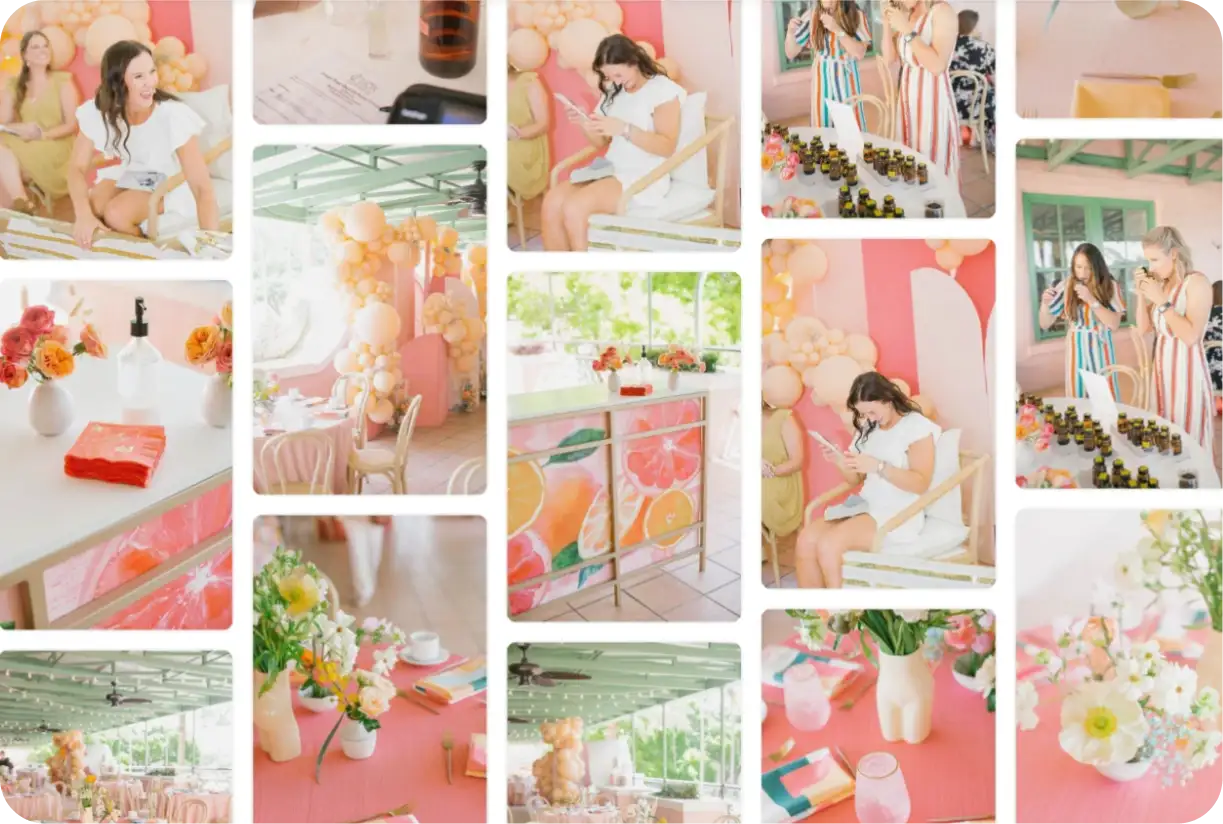
Pinterest is a platform where people share and “pin” content that inspires them, from food to fashion, and artwork to events. Most users are also between 25-34 years old who are creating and seeking “mood boards” for their next event. As a result, it can be a great place to share inventory and event images, curate pins, and link your website to inspire new clients and help them achieve their dream event.
You can even create a series of pins for each event like Vivant Rentals, to showcase rental collections, and bring curious users straight to your site.
YouTube
YouTube also caters to a millennial audience, with most users between 25 and 34. It can be a great way to showcase different sides of your business, with a focus on sharing longer form, authentic content about your industry or work. Youtube Shorts also offer an opportunity to post short-form videos. The audience on the platform is much broader, but it has an excellent content algorithm to improve your reach.
TikTok
TikTok is one of the most popular and controversial platforms, and this is where your short-form video content can shine when it is focused on sparking joy or humor. It has a younger audience, with most users between 18-24, and this could be a great opportunity to showcase behind-the-scenes content, repurpose Instagram Reel content, and poke fun at moments in your day-to-day business.
When to Post: How to Build Social Media Schedules
It’s best to post consistently to stay relevant and attract the attention of new audiences, but just how often should you post?
If you’re just beginning to establish a social media presence, posting 1-2 times a week between Tuesday to Thursday at 10am is a great place to start. Most interaction is within the first hour of posting, so think about when your audience might be active on social media, and look at post performance to see what posting time leads to the most interaction.
|
Best Times to Post on Social Media |
||||
| Monday | Tuesday | Wednesday | Thursday | Friday |
| 11am-12pm | 10am-2pm, 3pm-4pm | 9am-3pm | 9am-2pm | 10am-11am |
Source: SproutSocial
If you already have an online presence and you’re looking to step up your posting game, it’s best to build a social media content calendar where you can plot out your events and content. This way you can save time, stay organized, and plan ahead for content during busy seasons. There are a wide variety of social media calendar templates available from CRMs and marketing companies, such as this free template from HubSpot, but you can also create your own.
Consider these five ways to promote your event business when building your social media strategy.
Want more bookings?
Take our free quiz to get a custom marketing game plan in minutes.
1. Highlight Event Rental Collections
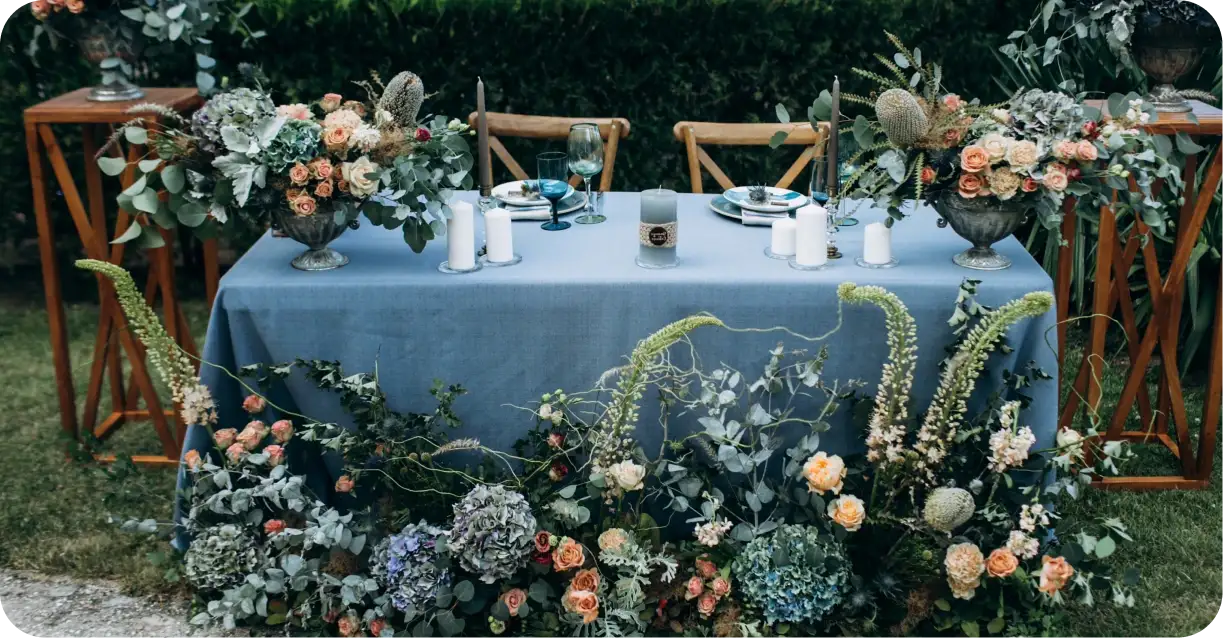
Events are everywhere on social media, and prospective clients may feel overwhelmed by their options. Differentiate your social media content by featuring event rental collections used at an event; then, have a link in your caption to “shop our collections” so followers and page viewers can browse the items they find appealing.
While Instagram only allows you to have one link in your bio, a great way to house multiple links is to use a “free-mium” product called Linktr.ee. This platform allows you to create multiple links in your bio to your collections, portfolio, key blog posts and, of course, your inquiry page.
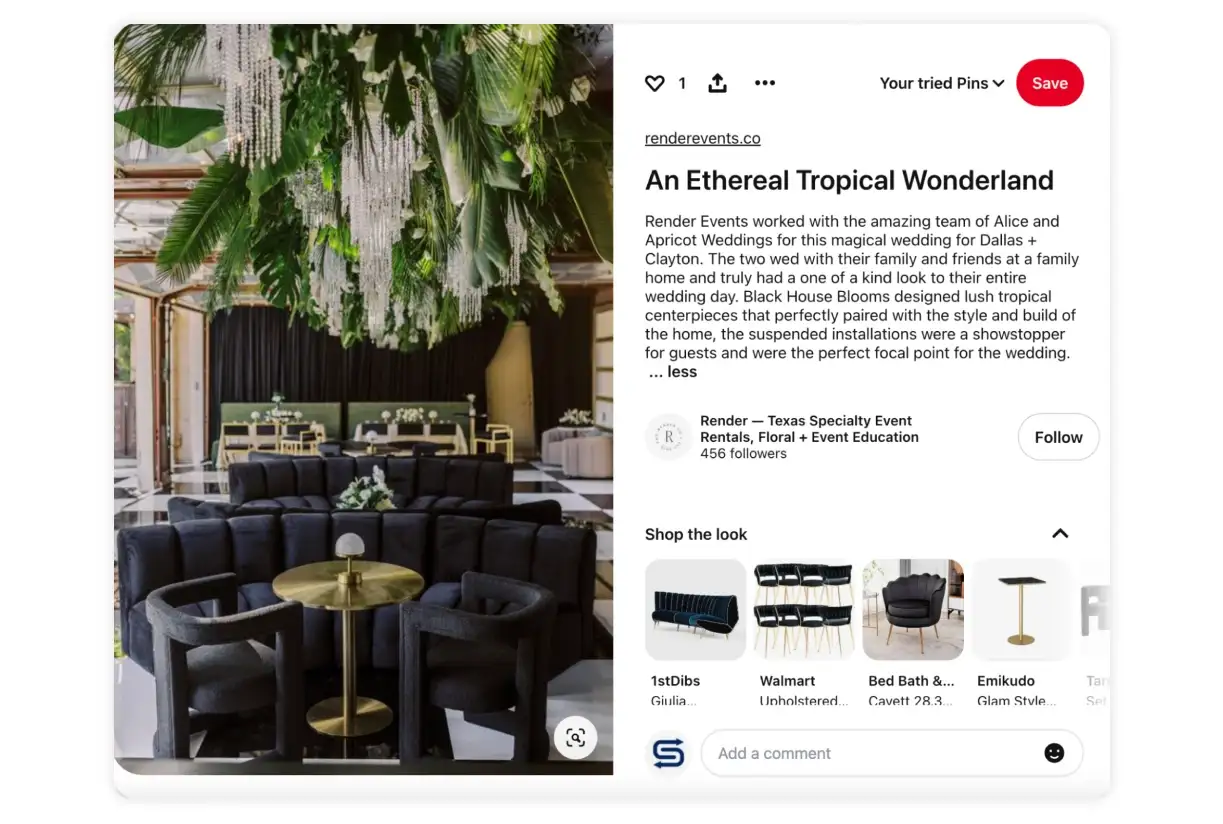
Render Events does an incredible job leveraging Pinterest to showcase rental collections that bring a tropical wedding to life, with easy access to “Shop the look” on their website.
2. Feature Event Before & After Content

It’s always fascinating to see venues transform and events come to life. Instead of showing empty rooms full of your rentals, sprinkle in before and after images of happy clients and guests. This is a great opportunity for short-form video content that could include shots of a venue, a day in the life with your team, and lists of tips for event rental professionals.
Don’t forget to use storytelling in your captions to invite viewers to see the journey from the client’s vision to the finished event with your rentals. This style of content is an easy entry-point for audiences to be introduced to and impressed by the work that you do.
For extra inspiration, check out a fantastic behind the scenes Instagram Reel from Alexa Kritis Events that shows an entire wedding’s journey.
3. Share Customer Testimonials
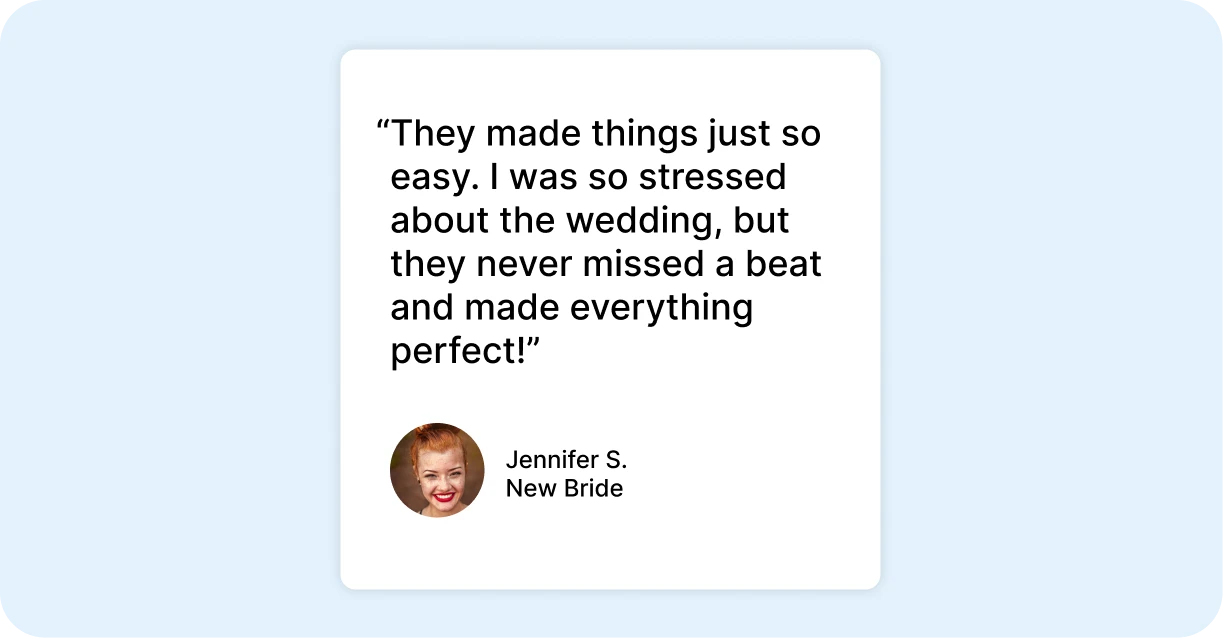
Customer experiences are critical for generating confidence that other clients have been happy with your rentals and events. Empathize with your audience, and create content that shows you understand customers from personal experience.
For instance, you could talk about a client’s experience with another unnamed rental company and how it made them feel. Then, let your viewers know that you have open lines of communication and always stick to the time you set.
Or, let your glowing reviews stand on their own. If you receive a fantastic comment that you want everyone who views your post to see, you can pin the comments below your post. Pinning praise will show everyone who sees your post how happy they could be when working with your event business. This is a great way to utilize social proof and encourage followers to engage with your content.
4. Showcase How You Can Use One Rental in Many Events
Different pieces can be used in multiple styles, but clients may need an example to start thinking creatively. Don’t pigeonhole your long farmhouse tables by only showing them in rustic events.
Instead, create content showcasing your inventory’s versatility. For instance, you could do a mini styled shoot to show how those same farmhouse tables can be used at events with more modern and traditional design aesthetics.
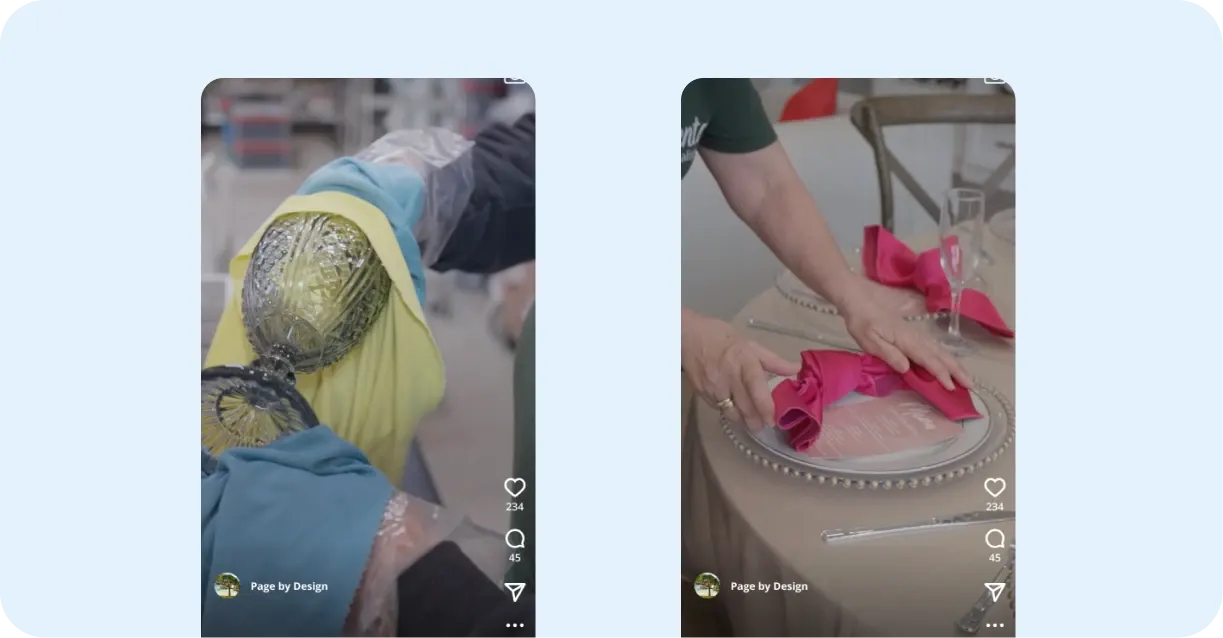
Make sure to mention your rental items by name, and reference the fact that you’ve featured them in other ways, like how Something Borrowed shows different ways to style their linen napkins in this Instagram Reel.
For bonus points, you can even do a branded hashtag (such as #EventsbyMaryFarmhouseTables) for each collection or rental type, so potential clients can click on it to see all the ways one piece can be used.
5. Use Instagram Stories
 Instagram Stories have become wildly popular for showcasing behind-the-scenes team content, which is helpful for educating clients about what goes into delivery, clean up and maintenance (which helps naturally justify your prices). They are also a great way to showcase your staff culture and new additions to your inventory.
Another way to use Instagram Stories is with “This-or-That” polls. A “This-or-That” post can show a rental item styled differently, or two different rental options for an event. Post two different stories, then utilize a poll asking which one they liked better. These polls are great for engagement, provide data on customer preferences, and you can even follow up with accounts who participated with a DM and a link to their preferred collections.
Don’t forget to take advantage of relevant hashtags in your Instagram story to expand its reach. By using hashtags that are relevant to your post and business, such as #partyrentals, #eventrentals, or #weddinginspo, you can reach more potential clients and increase business opportunities.
How to Track Social Media Performance

The final part of promoting your event business is tracking your social media content performance. No matter what strategy you choose, monitoring performance metrics will be vital.
Evaluate your performance based on your specific goals for social media. If you’re looking to:
- Grow brand awareness: Track the reach and number of impressions your posts generate.
- Measure engagement: Track each post’s engagement rate (total number of post interactions/post impressions).
- View the business impact of your content: Track your post’s conversion rate to see how many people make a booking due to your social media efforts.
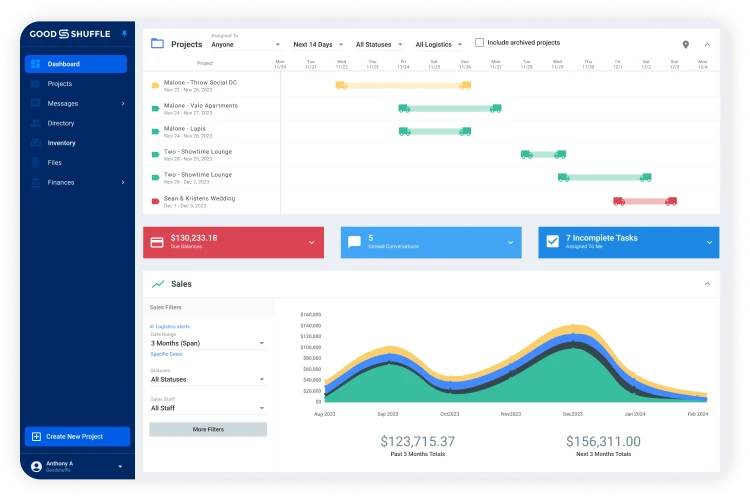
These social media metrics are accessible through the platforms, but Facebook’s Business Manager is an easy way to keep Facebook, Facebook Ads, and Instagram metrics all in one place. This tool enables a business account to view posts, manage direct messages, and monitor performance.
Start Promoting Your Event Business
Promoting your event rental business doesn’t have to end on social media. After you capture the attention of your ideal customer, the most important thing is to keep the conversation going. Goodshuffle Pro’s event rental management software offers all the tools you need to reap the benefits of your promotional strategy.
FAQs
Instagram and Facebook are most effective for reaching event clients (ages 18-34). Pinterest works well for inspiration content, while LinkedIn is best for B2B networking.
Start with 1-2 posts per week consistently, focusing on Tuesday-Thursday between 9am-3pm for optimal engagement. Quality and consistency matter just as much as frequency.
Short-form videos (Reels, TikToks) showing event transformations, behind-the-scenes setup, and rental items in use at real events perform best.
If you’re targeting corporate clients or want consistent, professional-looking content, investing in inventory photography is worthwhile. Start with your most popular items.
Track metrics aligned with your goals: reach/impressions for brand awareness, engagement rate for interaction, and conversion rate for actual bookings generated from social media.

Share On