It’s so gratifying when you find a good piece you like at an amazing price, but the condition is well, sort of, meh. However, you see potential. You want to refurbish event rentals without ruining them, but how do you do this? Make sure when you improve it you don’t ruin it, otherwise it is an exercise in futility.
In this guide, we will discuss best practices for refurbishing rental inventory:
- Evaluate your skill level before you begin refurbishing.
- Review resources to help refurbish event rentals.
- Create a checklist of proper tools and equipment necessary.
- Perform the refurbishing process.
- Consider hiring a refurbishing professional.
Let’s get started:
Ask Yourself: Do I Have The Required Skill Level?
You want to refurbish event rentals without ruining them. Before thinking you can DIY anything into a better state, truly ask yourself if this is in your wheelhouse to make this piece better, prettier, or improved. It is important to be honest with yourself so you don’t end up costing yourself more time and money to tackle the project. Remember that time is a commodity. It is non-renewable, valuable, and the opportunity cost is that you are directing it away from money-making opportunities. This also holds true for employee time–is it worth paying them to fix up and beautify the project piece, or having them focus on other tasks?
If it is listed in your inventory on Goodshuffle Pro, make sure you place this in Set Aside mode. This informs you and your staff the product is unavailable for booking. Once it is complete, you can bring this to market and begin making money. If you tried to book while in Set Aside a large red stop sign alerts you of the conflict until it is resolved.
Resources to Help Refurbish Event Rentals Without Ruining Them
So you might need a little refresher, or reassurance, even if you are adept at handling the project. YouTube has countless videos on anything you want to learn. Between YouTube and Google you will find helpful videos, blogs, photos, and even instructions on how to refurbish from people with helpful tips. Make sure to use specific search terms to narrow in on your project.
Do You Have the Proper Tools and Equipment to Successfully Complete the Job?
Make a checklist first of what you will need to complete the project before you go out and buy anything whether it is supplies, tools, or other equipment. Be thorough. For instance, if a table you found requires refinishing you might need: an electric sander, sandpaper or discs, stain, a top coat, steel wool (synthetic or real), a scraper, or repairs to the legs like glue, clamps, possibly brad nails and a nail gun–you need to jot this all down before heading to the hardware store to avoid multiple trips. You might also need proper respirator masks, gloves, glasses, drop clothes, special rags, clothing, or more. Be prepared because there are always more components to the job than we realize.
Starting and Finishing the Event Rental Refurbishing Process
How to Refurbish Event Rental Inventory
Now that you have gathered your supplies, you need to start. If you work indoors, be sure you have plenty of ventilation. Open doors and windows. The warmer the temperature usually the faster things dry too, whether working in paints, stains, or finishes.
You also want to remove any hardware and keep in one place. A labeled bag should work perfectly. Imagine all the work done and you can’t find a drawer pull?
Whether you are painting, stripping finish, or sanding and restaining, you want cover and tape off any sections that you don’t want affected. You will want to be sure your drop cloth is also safely placed below the piece, and ensure that no one trips on it.
If you are using something like a stripping agent, you will need to put enough product on a brush and apply to the furniture piece. However, always apply to a test spot first before just jumping right in. How awful would it be if it reacted negatively with the furniture thereby completely ruining it? You will have to scrape it off, and likely apply spot strip.
If you need to sand something, start out on lower settings if you use an electric sander. You may also want to start with finer grit sandpaper before the rougher ones. You can always move on to lower grades if you find the finer ones aren’t doing the job. The key is to not be impatient and ruin the project piece.
You’ll then want to clean off any dust before you tackle things like sanding and painting, otherwise it may not stick.
Applying the Finishing Refurbishing Touches
Once you are ready to apply top coats, there are various ones to choose from. You might want to ask the professionals at the store for advice based on use and where the items will mostly be used. Usually, you apply three top coats and sand in between. A finer grade sandpaper is recommended for the in between sanding and do this by hand to prevent taking off the stain or paint you already applied. Allow for plenty of dry time between each coat.
Once your project is done, find your bag of hardware and reinstall it on the furniture if you removed any.
Too Much Trouble? Hire a Professional.
Certain tasks are beyond our scope or simply not worth the time. Paying a professional might be worth it. Although it is empowering to improve a cast-off item, it may not be rentable if you don’t do it right. Maybe something like upholstery is better left to the pros than you, unless of course you retain someone on your payroll already. Jobs that don’t turn out well are noticeable to the client. They will not want to rent from you. It might be worth the investment to find someone who is an expert in the field.
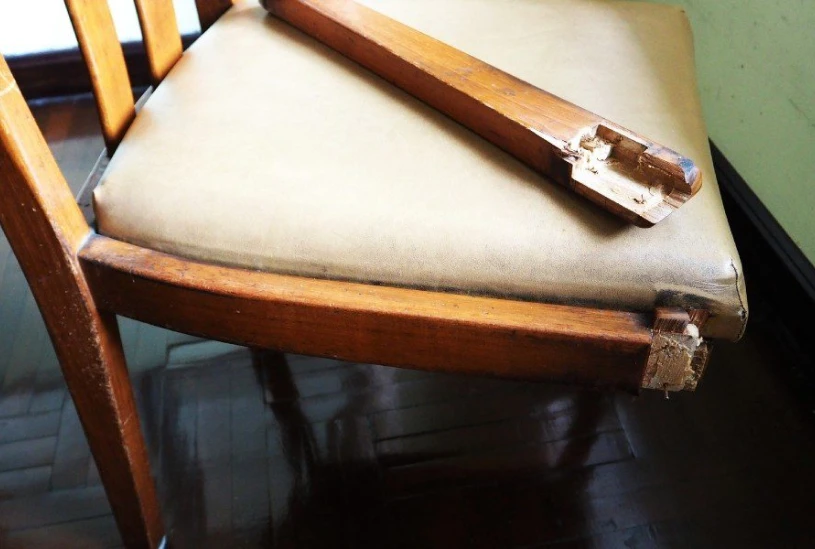
Feature Image by Molly + Co

Share On