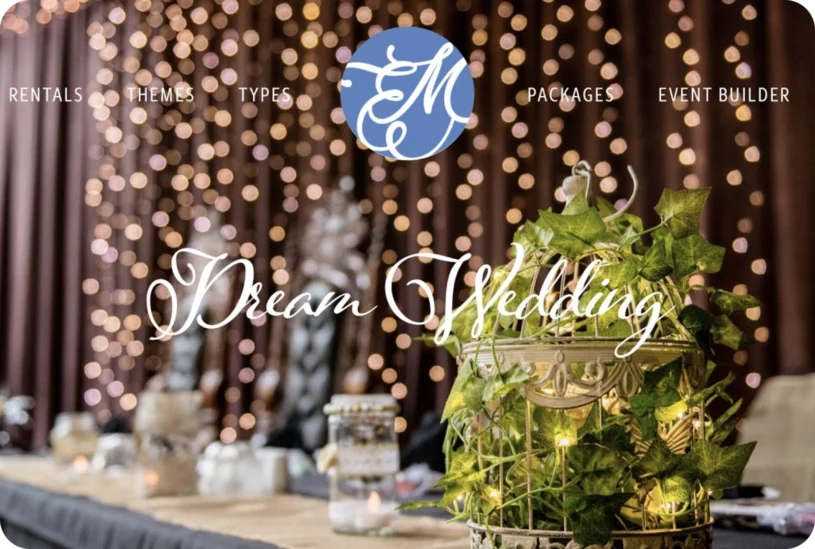
Some of the event rental companies we work with publish absolutely stunning PDF catalogs, a.k.a. Lookbooks. These Lookbooks showcase completely styled looks that show off your creativity and innovative looks, while also highlighting specific products that are available. Much like the old-school paper catalogs, these digital catalogs serve as a way to introduce prospective clients to your brand, allow the client to imagine what’s possible for their big day, and ultimately win more business.
What’s lacking from traditional Lookbooks are a clear call to action, and a seamless way for you to go from concept to proposal for a specific client. With Goodshuffle Pro’s Website Integration, you can have both: present beautifully styled Lookbooks to your clients and receive a clear list of concepts that your clients want for their event. Boom! Event planning made easy!
Before you get started creating a clickable Lookbook that allows your clients to start shopping right away, you’ll first need to get Goodshuffle Pro and enable the Website Integration. That way, your potential clients can get started planning right away, and then you’ll be able to receive their preferences before you talk to the client, so you can be fully prepared when you meet with them. Not only will you be able to present them with a quote for items they selected, but you’ll also be able to make other suggestions to tie their event together! (Don’t worry, we’ll talk more about how the Wishlist works later in this post.)
So, how do you create one of these magical, clickable Lookbooks?
Step 1: Find a Lookbook software program
The good news is that if you do a quick search for “Lookbook software,” you’ll get all sorts of options, both free and paid. Find something that’s easy to use and that will work to create the style you want to capture. As far as I know, there isn’t an official Lookbook software for event pros, so you’ll have to use your imagination with some of these.
We do know some people who prefer Canva for creating their Lookbooks, but any software that can create a PDF with images will work! There are many options available, such as Google Slides, Apple Pages or Keynote, several options from Adobe, and many more!
Step 2: Create your Lookbook
This is the fun part: create a catalog of your goods within your Lookbook software. Use high quality images so that your products will shine. Make sure that if you’re renting out a package you include a photo example of the completed look to really help sell it. Lookbooks can be great marketing tools — showcase your items well, and your concepts will be as good as sold!
You can find tons of examples online and on Pinterest. Keep in mind that just because a Lookbook isn’t decor or rental related, doesn’t mean it can’t be excellent inspiration!


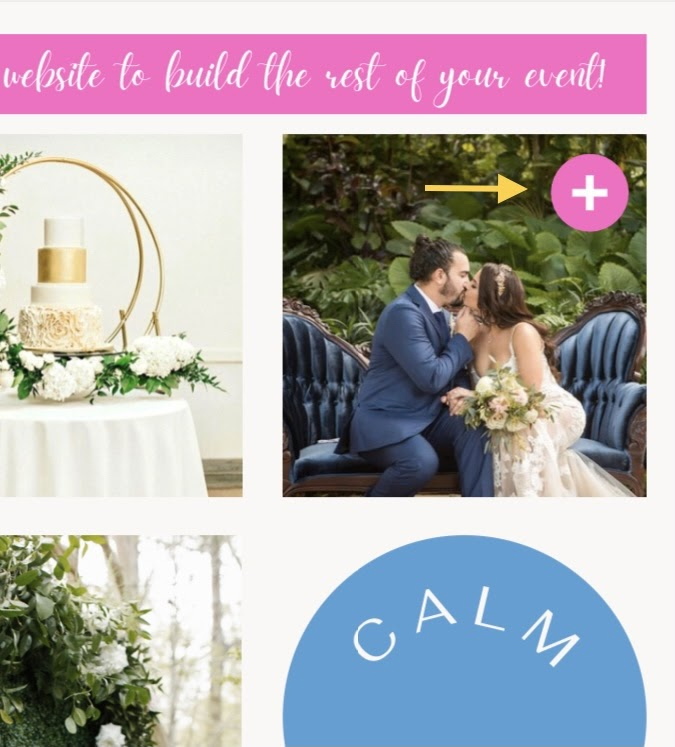
Pro Tip: Adding “click points,” such as the “+” symbol seen in the above example, lets your clients know that they can click in that area to be taken to the corresponding Wishlist page.
You can also use Lookbooks to introduce your team by including employee spotlights (clients LOVE to know who they’re working with), company history (tell your prospects why you love doing what you do!), and other news that your clients would be interested in (show off your expertise!).
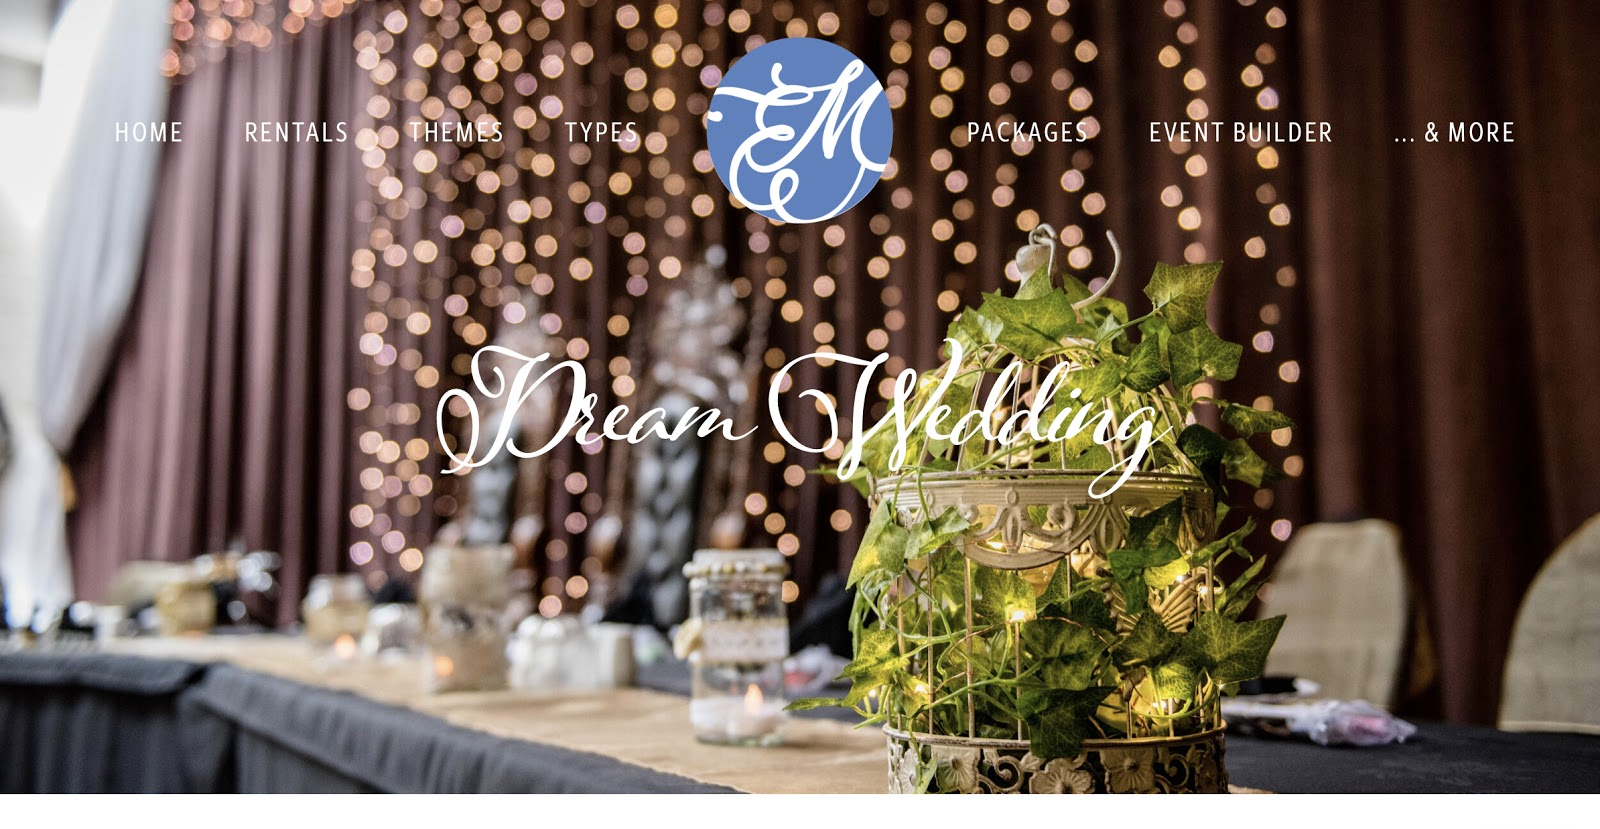
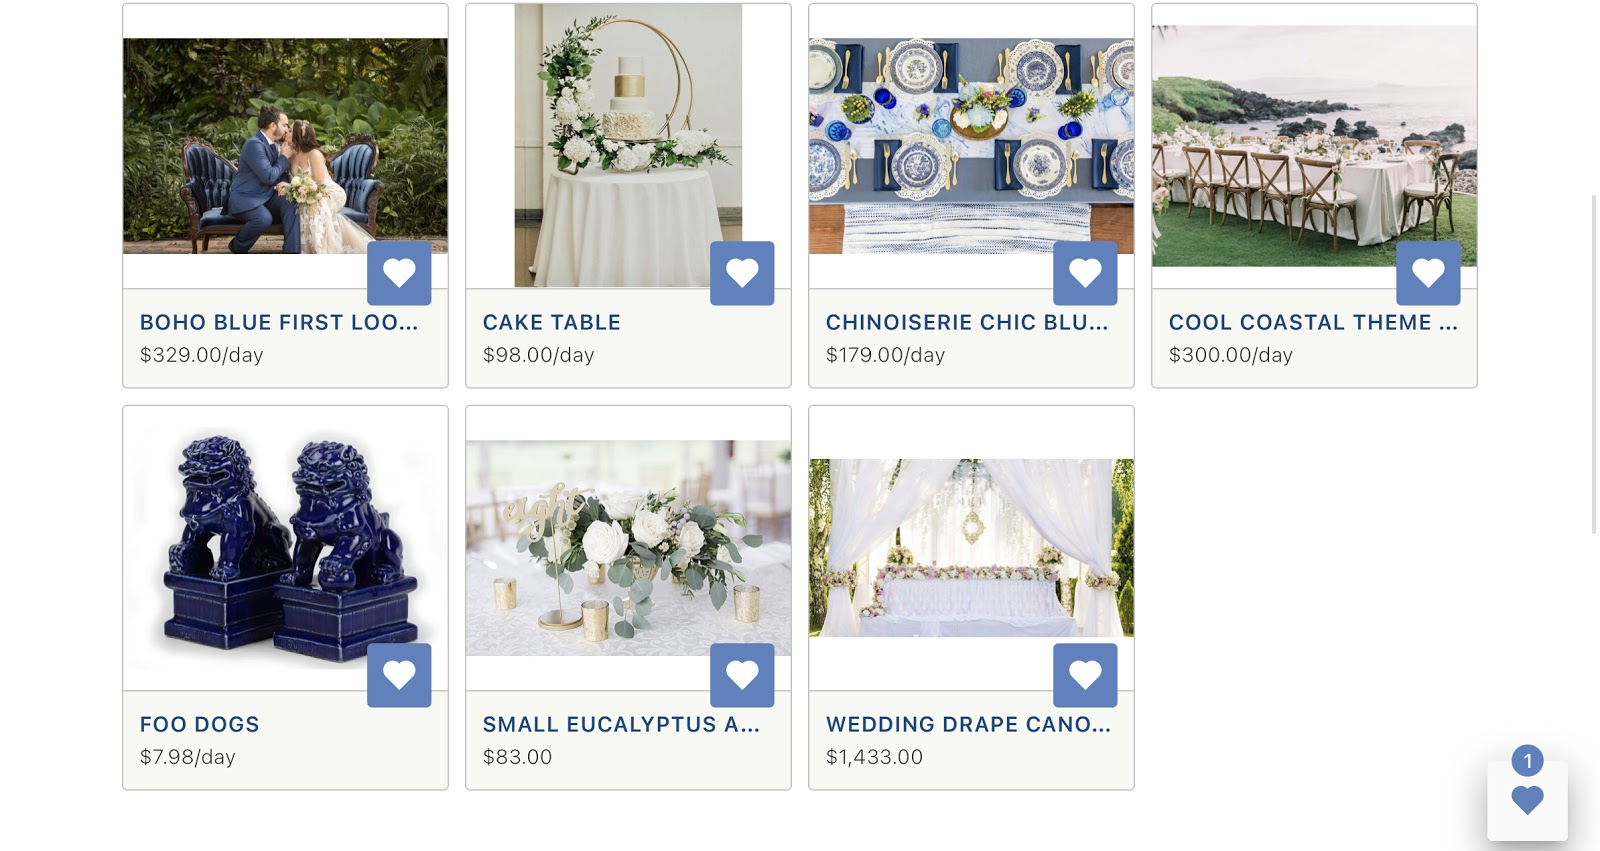
Step 3: Create your Wishlist Page
A beautiful landing page for your Lookbook collection will further inspire your clients to build their Wishlist — and make it easier for them to find all the items they want. Here, we’ve assembled all of the items included in the Lookbook for easy browsing.

Step 4: Add in your links
This will vary just a bit depending on what software you use. Let’s look at some common choices!
Canva
If you’re using a software like Canva, adding links to your images or text couldn’t be easier. Simply highlight the image or text you’d like to hyperlink, and click the “Link” button in the upper right corner. Add in the URL for your corresponding Website Wishlist inventory item, and voila! You’re done!
When your client clicks the image in their PDF it will open a new window to the URL you added to your image or text. From there, they can add the item to their Wishlist.

Google Docs or Slides
One of the great things about using the Google Suite — aside from how sharable it is and it’s free price tag — is that it uses industry standard keyboard shortcuts and everything is pretty much where you’d expect it to be.
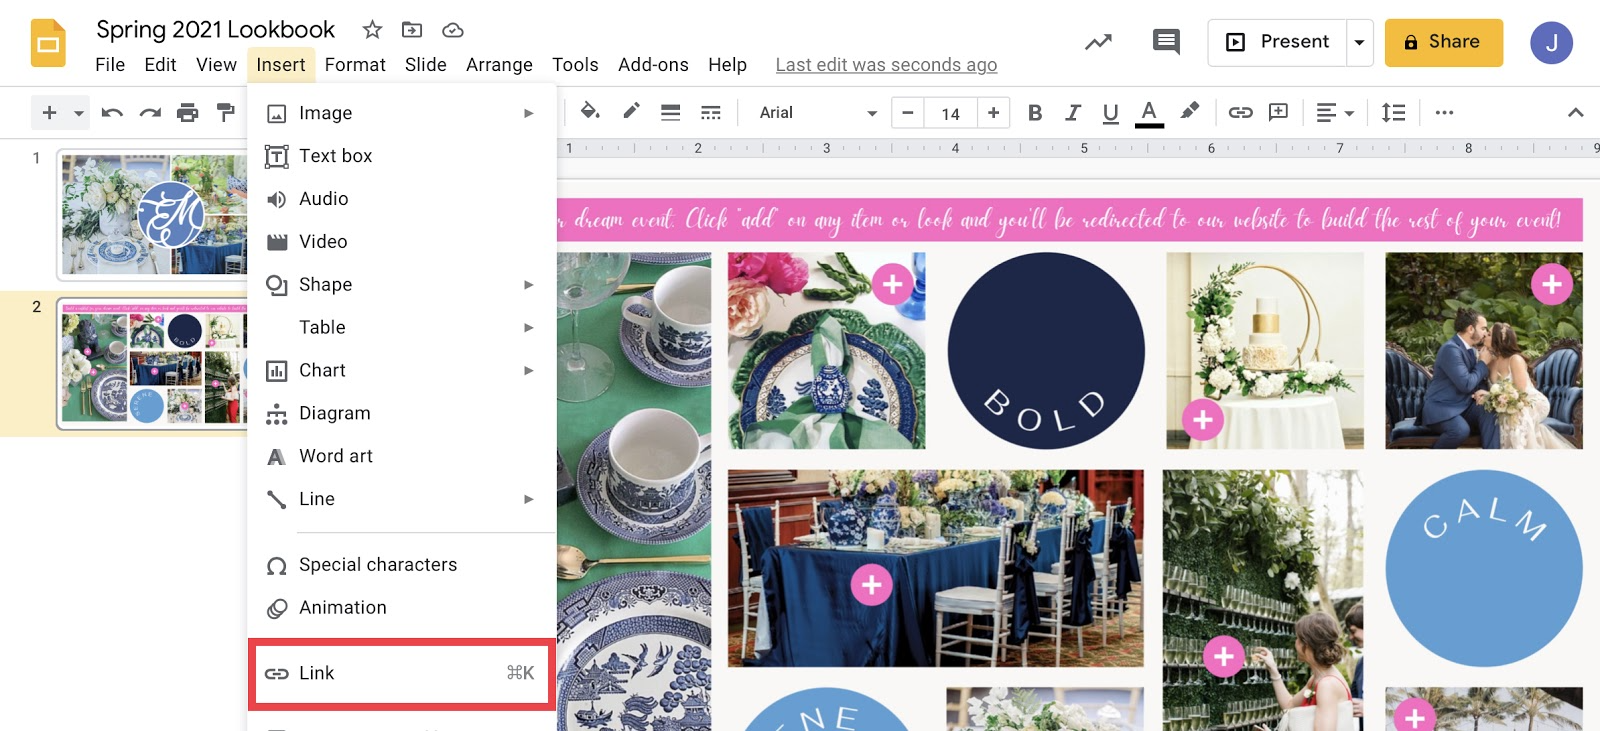
To add a link to an image, simply select “Insert” from the menu bar, then click “Link.” You can also use the keyboard shortcut “Command + K” for Mac, or “Control + K for PC”, or you can right-click on the image to select to add a link.
Apple Pages or Keynote
Shockingly, you cannot hyperlink images in Apple’s Pages or Keynotes. You can add links to text (again, through “Insert” or using the Command/Control + K keyboard shortcut), but not images. However, users have created a work-around that involves hiding text over the top of an image and hyperlinking that text. If you’re set on using Apple products to make your Lookbook, it’s worth checking out.
Adobe Acrobat
Adding links to text and images in Adobe Acrobat is pretty straightforward. First, navigate to the menu bar; select Tools > Edit PDF > Link > Add or Edit. After that, you simply select the area you’d like to link, indicate how you’d like the link to appear, then add the URL.
How will it work?
After you create your Lookbook and add your links, your clients will be able to click on the images they want to know more about. For this example, we’ve made “+” the clickable image, so when a client clicks there…
…they are taken to the corresponding Wishlist page:
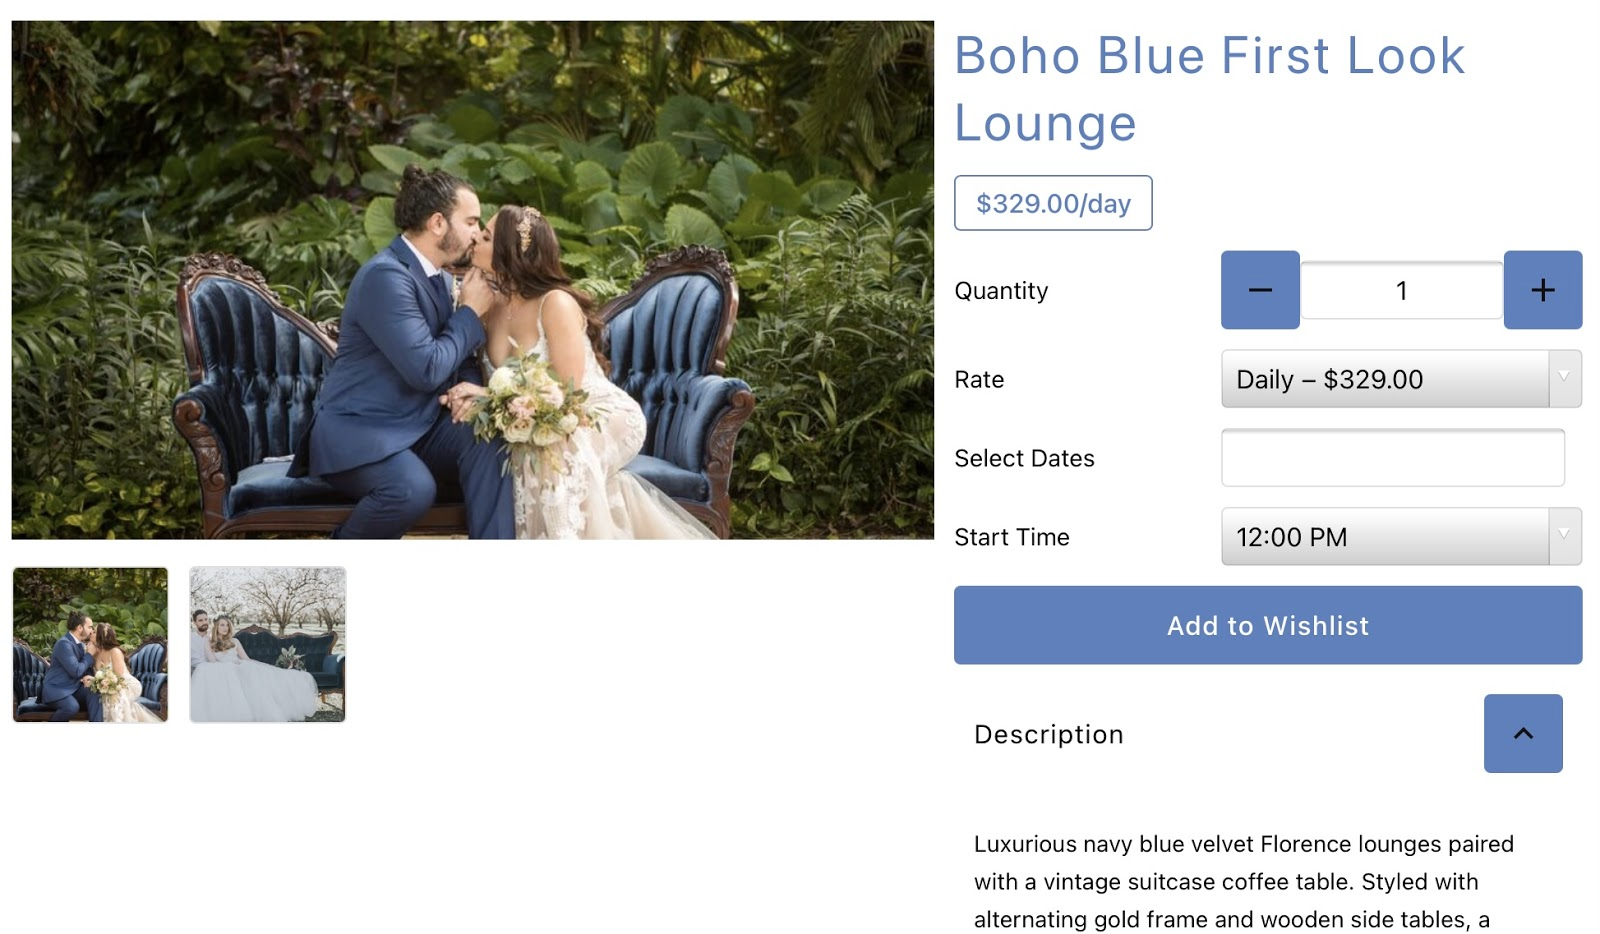
From there, they can select to add items for the Wishlist and start planning their event!
Step 5: Respond to a client in < 60 seconds
Once your client submits their Wishlist, Goodshuffle Pro will auto-populate a quote for the items they selected. You’ll get an email notifying you of the Wishlist submission. From the quote’s Project area within the software, you’ll have the option to quickly send them the quote via email. If their Wishlist seems incomplete, you also have the option to add suggestions to their quote that they can approve or pass on. This will give you the opportunity to upsell some of your other inventory items and packages. If no changes or additions are needed, your client can have a quote in their inbox in under a minute!
What are you waiting for?
We hope we’ve inspired you to create an actionable PDF catalog / Lookbook of your own to showcase your unique concepts for events and what your company is all about through our Website Integration. Custom Lookbooks can be a fun, interactive way for your clients to explore your unique concepts and select items from your inventory that speak to them, all while making it easy for you to build a proposal and respond to their inquiry ASAP! Not only will they be able to browse on their own time, but by creating a Lookbook, you’re guiding them through a curated look at your inventory.
